360° Panorama Mission Creator v1
Instructions
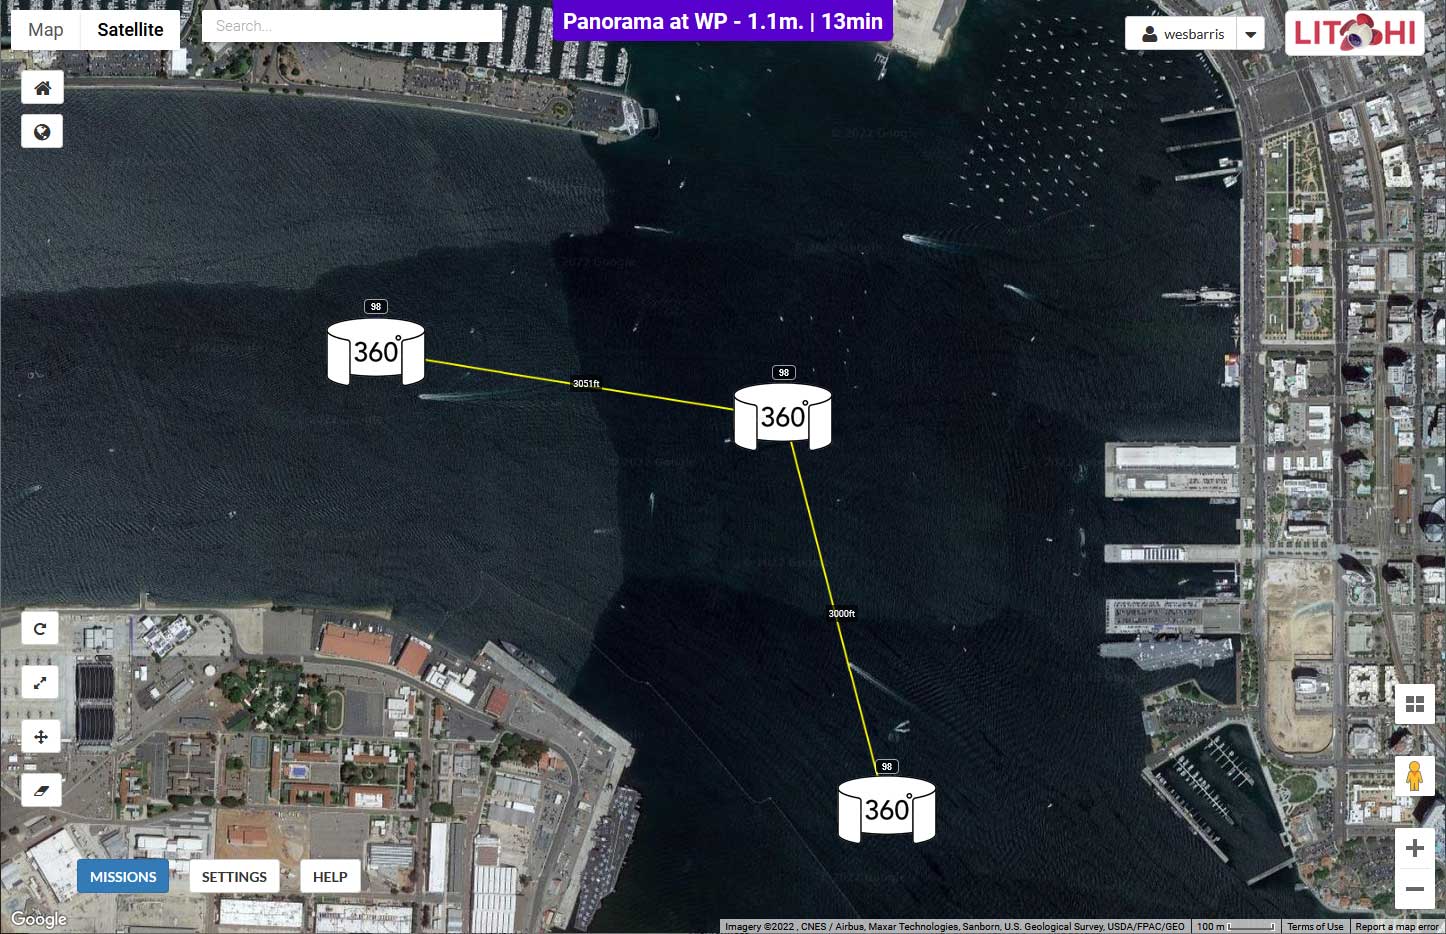
Example

Instructions
This application will convert a Litchi mission CSV file into a mission CSV file that can be used to capture a 360 degree panorama at each waypoint. CSV file that can be imported into Litchi, resulting in a waypoint mission.
- Create a Litchi mission
- Position each waypoint where you would like a panorama.
- Set the height at each waypoint for each panorama.
- No other setting such as heading, curve size, or gimbal pitch needs to be made. They will be ignored.
- Save this mission (optional).
- Export this mission as a CSV file.
- In page one of Litchi Mission to Panorma Mission:
- Select the gimbal pitch angles for each of the three rows of photos. The default angles correspond to Litchi's "auto-panorama".
- Controllable Gimbal Tilt/Pitch Angles
- Phantom 3 -90° to 30°
- Phantom 4 -90° to 30°
- Mavic Pro -90° to 30°
- Spark -85° to 0°
- Mavic Air -90° to 17°
- Mavic 2 -90° to 30°
- Mavic Mini(SE) -90° to 20°
- Mavic Air 2 -90° to 24°
- Mini 2 -90° to 20°
- Air 2S -90° to 24°
- Mavic 3 -90° to 35°
- Mini 3 Pro -90° to 60°
- Controllable Gimbal Tilt/Pitch Angles
- The "Offset Distance" is the distance between the waypoints that are used to take the photos and the "dummy/intermediate" waypoints that are placed between the photo waypoints. These "dummy" waypoints are necessary because each waypoint is limed to 15 actions and no two consecutive waypoints can share the same coordinates.
- Use the file chooser to upload your Litchi CSV file.
- Generate the panorama mission and review the resulting parameters.
- Select the gimbal pitch angles for each of the three rows of photos. The default angles correspond to Litchi's "auto-panorama".
- In page two of Litchi Mission to Panorama Mission:
- Review the parameters and calculations.
- Download the csv file.
- In the Litchi Mission Hub:
- Use the Missions menu to import the csv file created by Litchi Mission to Panorama Mission.
- In "Settings" make sure that the "Heading Mode" is set to "Custom(WD)".
- The imported mission will have a cluster of three waypoints around each original waypoint as shown in the image below.
The 22 photos must be captured within the following constraints:
- A maximum of 15 camera actions can be defined at each waypoint.
- The "Tilt Camera" camera action does not accept positive pitch angles.
- Sequential waypoints must be separated by at least 0.6 meters.
- IMPORTANT: Configure the following mission parameters:
- Mission Settings: Heading Mode: Custom (WD)
- Mission Settings: Path Mode: Straight Lines
- Mission Settings: Cruising Speed: ~10mph (16km/h)
- Litchi App Settings: Gimbal Extension (+30°): On (NOTE: This setting defaults to "Off" every time you start the Litchi app with some drones.)
- Go capture some panorama photos!
The following question is often asked: Is it possible to create a Litchi mission that will capture a panorama at a waypoint? Litchi's Mission Hub (and app) does include a panorama camera action that can be added to a waypoint. However, that camera action only captures one row of photos to be used in a panorama. If a 360° panorama is desired, there no direct way to do that with Litchi alone.
This web applcation will allow one to upload a CSV file containing a simple waypoint mission (maximum of 10 waypoints). It will then generate a new Litchi mission (CSV file) with the necessary waypoints and camera actions to capture photos that can be used to create a 360° panorama at each of the waypoints in the original, uploaded mission.
The 22 photos captured in row-major order at each waypoint will be comprised of:
- Eight photos in the top row at 45 degree rotations
- Eight photos in the middle row at 45 degree rotations
- Five photos in the bottom row at 72 degree rotations
- One nadir photo looking straight down
After creating this new CSV file, import it as a new mission configured with the following settings:
- Heading Mode: Custom (WD)
- Path Mode: Straight Lines
- Gimbal Extension (+30°): On (Litchi app settings)